Installation
Mounting the CTU
The CTU is supplied in an IP68-rated enclosure with integrated mounting flanges for wall or panel mounting.
Overall Dimensions: w 245 mm, h 171 mm, d 124 mm
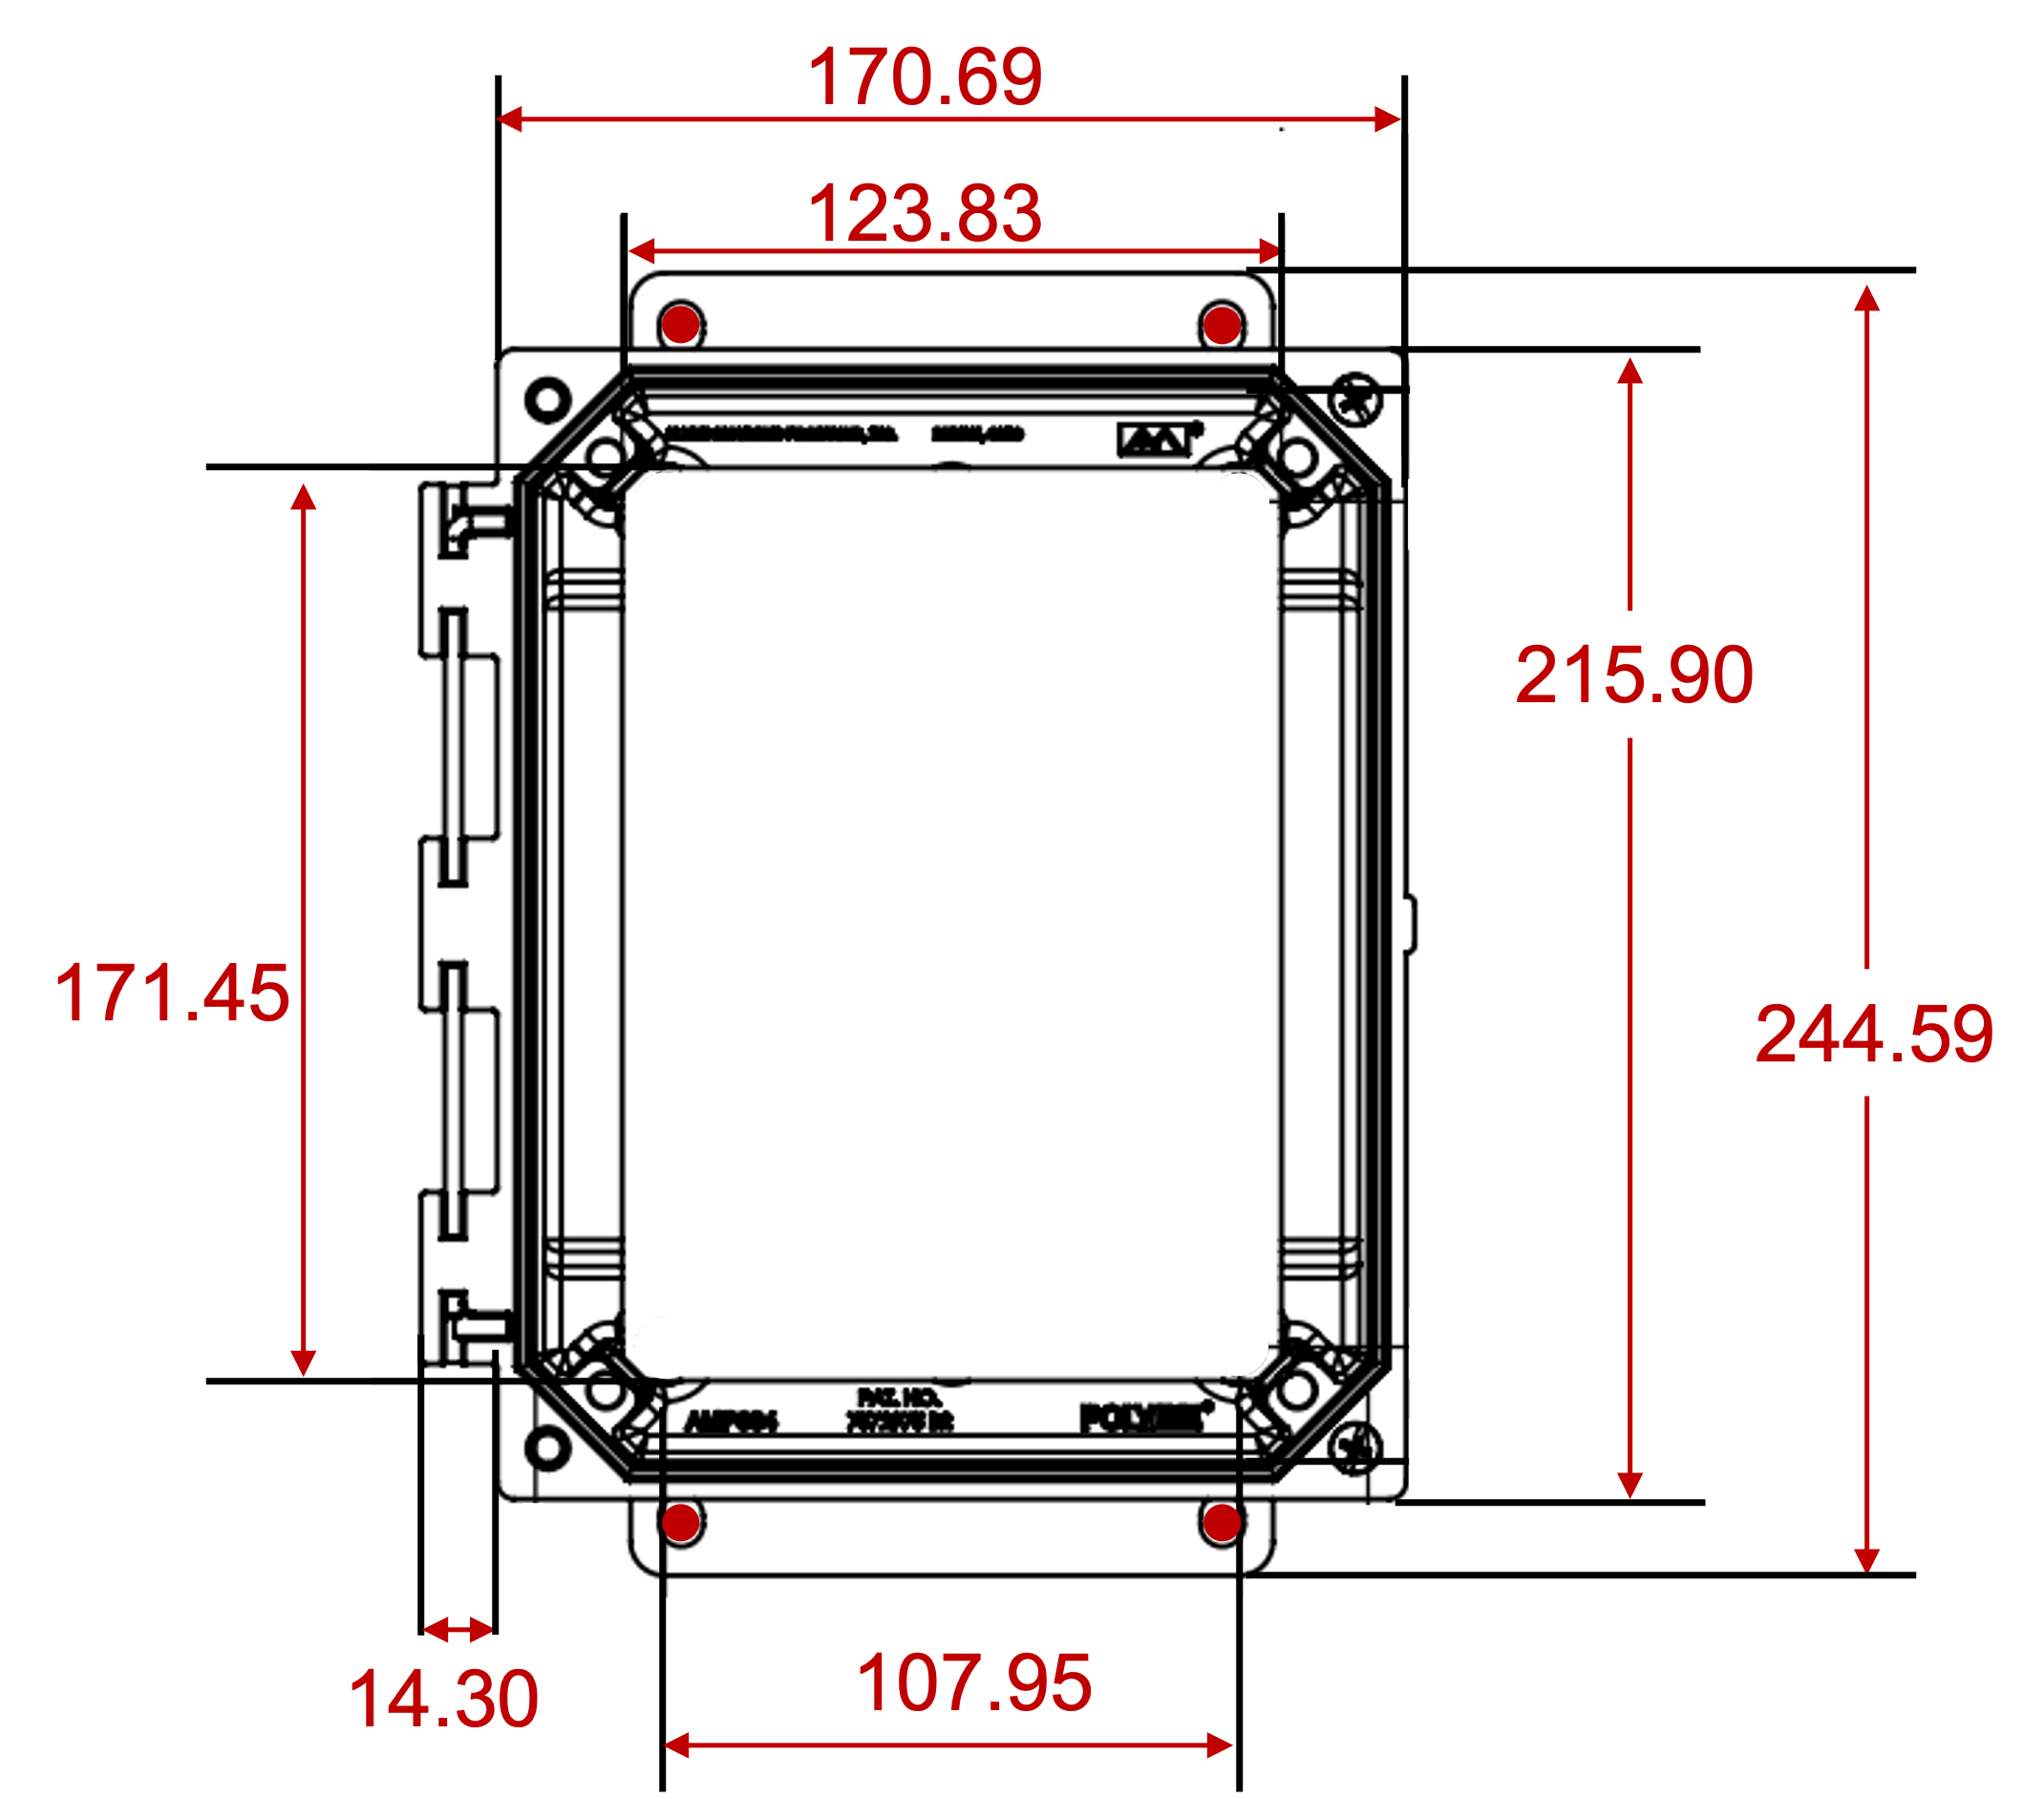
Allow sufficient clearance around the enclosure for cable entry, opening the lid, and accessing the display and connectors.
Mounting Holes
There are four mounting holes located in the moulded mounting flanges, shown in red in the diagram above. The mounting holes are slotted and designed to accept M4, M5 or #10 screws. We recommend using stainless steel fixings suitable for the installation environment.
Installation Procedure
- Mark the four mounting hole positions.
- Drill fixing holes appropriate for the mounting surface.
- Secure the enclosure using four corrosion-resistant screws.
- Ensure the enclosure is mounted vertically with the hinges positioned on the left-hand side.
- Do not overtighten fixings as this may distort the mounting flanges.
- Verify that the enclosure lid can be fully opened without obstruction.
to maintain the IP68 rating:
- Ensure all cable glands are correctly installed and tightened.
- Ensure the enclosure lid is fully closed before operation.
- Inspect the lid gasket for damage before installation.
- Do not drill additional holes in the enclosure unless approved by ANB Sensors.
Power requirements
24V +/- 20% direct DC input
or
230V input with a AC/DC convertor PCB module
Connecting the 24V Power Cable
- Unscrew the external cable gland cover.
- Slide the gland cover over the 24V power cable.
- Feed the power cable through the collet and into the enclosure.
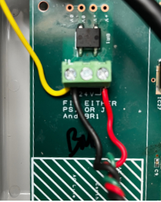
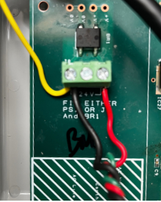
- Connect the power cable to the green, three-way power terminal connector marked J8.
- Ensure that the terminal connected to the yellow shield cable is connected to 0V (power).
- Tighten the external gland cover to secure the cable in place.
Starting the Sensor
- With the sensor in water, turn on the power
- The sensor will double beep
- The Display will say Starting followed by Scanning
- After 4.5 mins the sensor will display it's first number.
If you require further support please contact support@anbsensors.com